Scratches and dings on your car can be more than just an eyesore; they can lead to rust and further damage if left unattended. Yet, taking your vehicle to a professional for every minor scratch isn't always practical or economical. Enter the world of DIY car paint repair—a solution that saves money and time for drivers willing to put in a bit of effort. While the thought of repairing car paint might seem daunting to some, the process has become more accessible and manageable thanks to modern tools and techniques. This blog post will guide you through the essentials of fixing those pesky paint issues yourself, ensuring your ride looks its best without breaking the bank.
Identifying Paint Damage
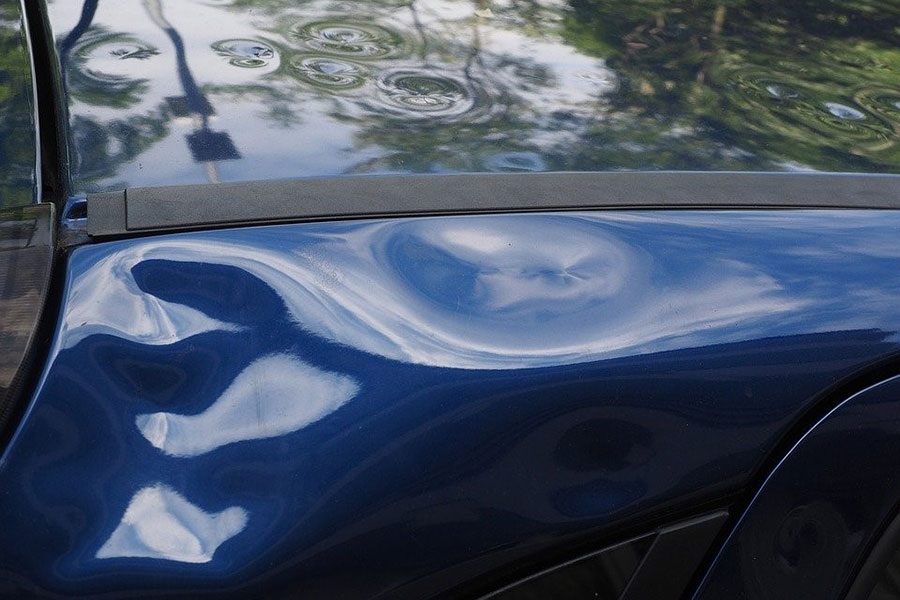
Types of Damage
Car paint can suffer in many ways. Chips, scratches, and swirl marks are common. Each type needs a different repair approach.
Chips often come from rocks hitting the car on highways. They leave small, deep spots that expose the metal underneath. Scratches can happen from keys, branches, or even washing the car with a rough cloth. They vary in depth and length. Swirl marks are fine lines that form a circle pattern. They usually appear after washing or drying the car incorrectly.
Environmental Impact
The sun and road chemicals have big effects on car paint. Sun exposure fades paint over time. It makes it look dull and old. Road salt and other chemicals can also harm paint. They can cause it to chip away or rust if not cleaned off quickly.
It's important to know these factors can speed up damage. This helps car owners protect their vehicles better.
Assessing Damage
To fix paint damage, first assess its depth and severity. Use your fingernail to gently check if a scratch is deep. If your nail gets caught, the scratch is deep. For chips, look at how much paint has come off and if rust has started to form.
Swirl marks are usually on the surface level. They don't need as intense repairs as deep scratches or chips.
Essential Tools for Restoration
Sandpaper Selection
Sandpaper is crucial. It smooths the car's surface before painting. You need different grits. Start with coarse and move to fine.
Coarse grit removes old paint and rust. Medium grit smooths out scratches. Fine grit prepares the surface for primer. Always use them in this order for best results.
Quality Primers
Primers are foundational. They ensure paint sticks well and lasts long. High-quality primers also protect against corrosion.
Apply primer evenly. It creates a good base for the paint. Let it dry fully before applying paint.
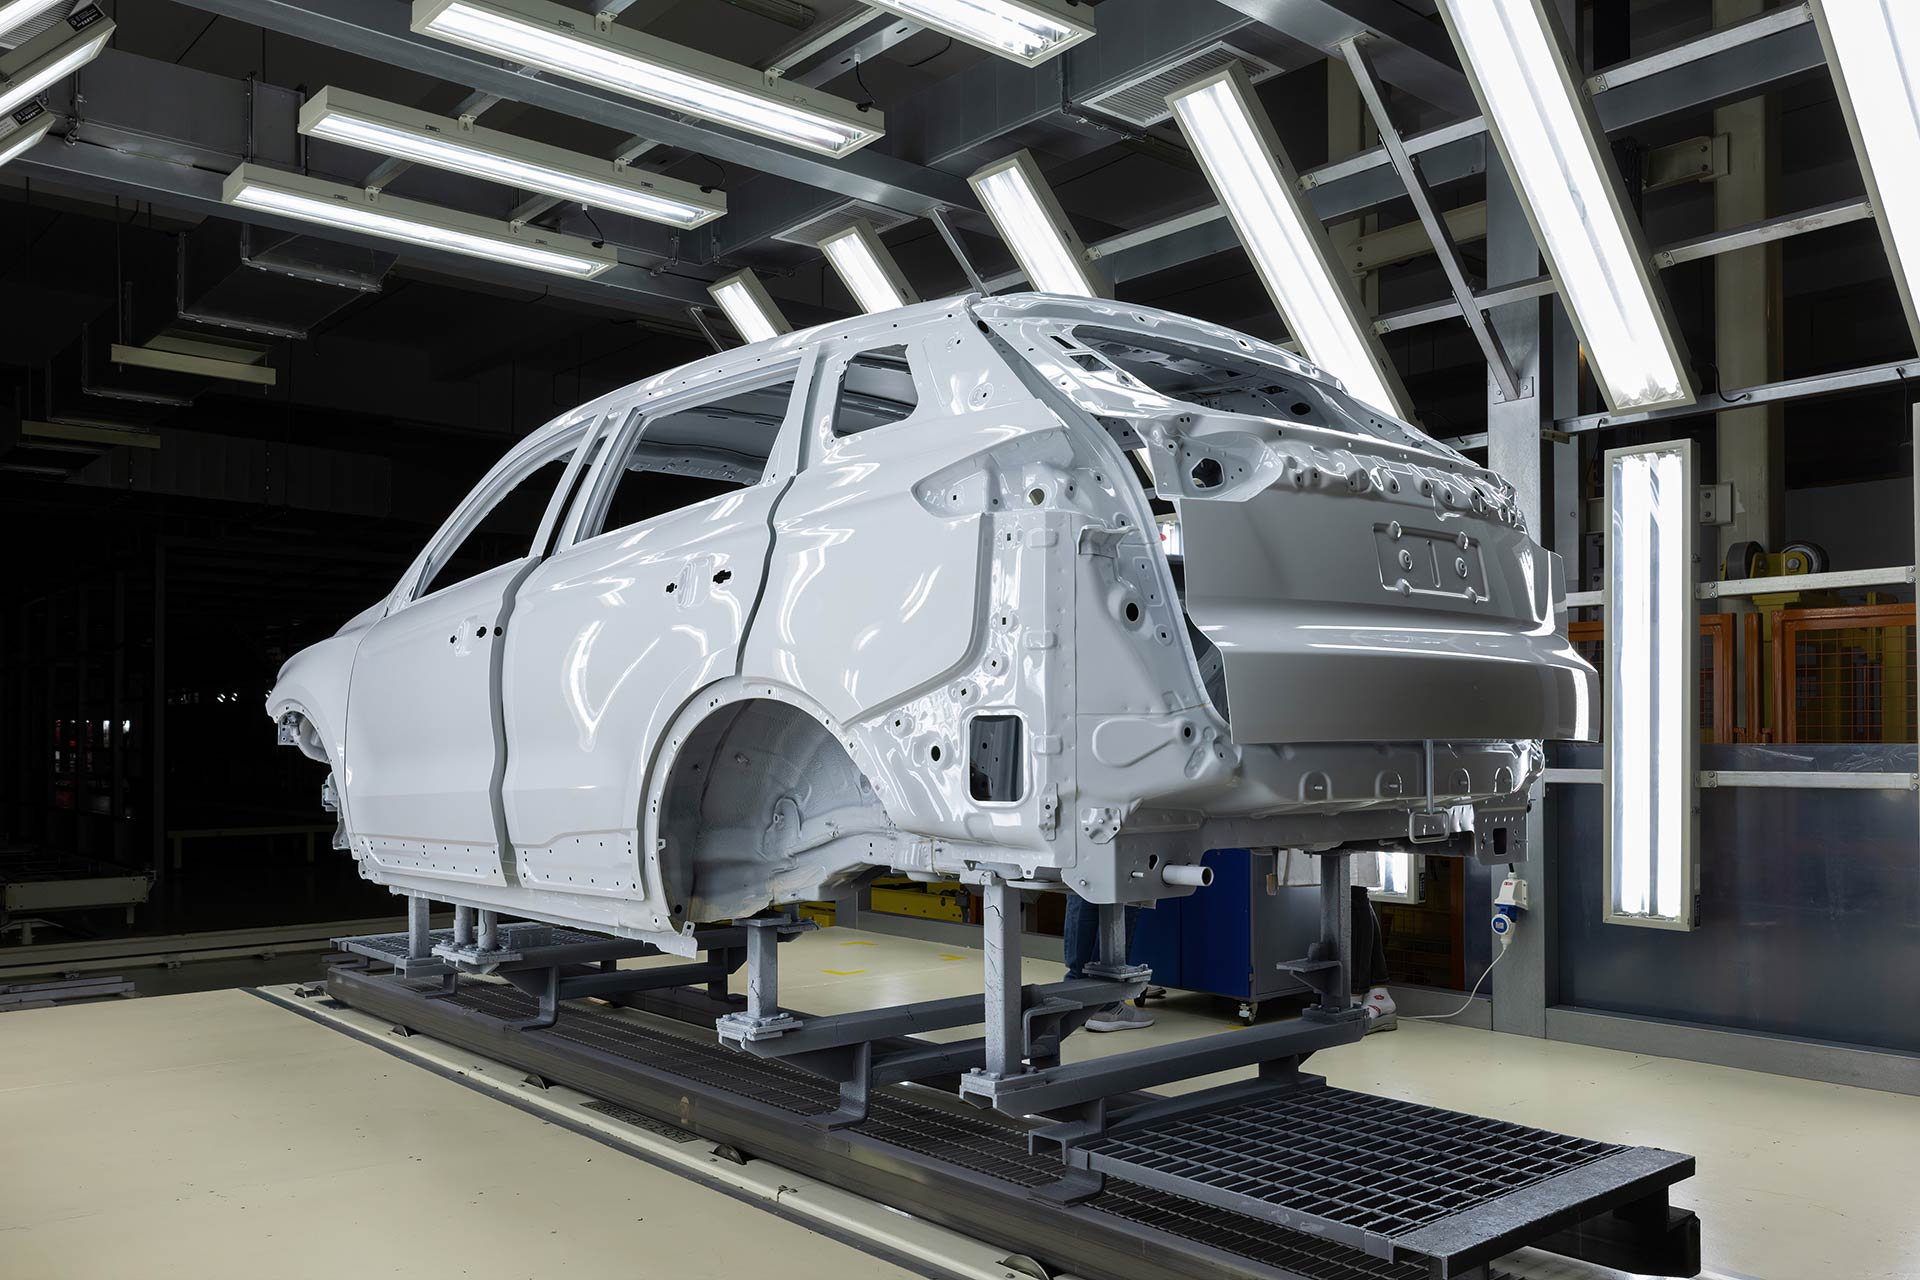
Paint Types
Choosing the right paint is key. Match it with your car's original color for a seamless look.
Use automotive paint only. It's designed to withstand weather and sunlight. Apply in thin, even layers to avoid drips.
Clear Coats
Clear coats add shine and protect the paint. They make the color pop and shield against UV rays.
Apply clear coat after the paint dries. Use multiple thin layers for a glossy finish.
Dual-Action Polisher
A dual-action polisher gives a professional touch. It buffs the surface to a high shine without damaging the paint.
Move the polisher evenly across the surface. Take your time for a smooth, glossy finish.
Cleaning Supplies
Good cleaning supplies prepare the surface for painting. They remove dirt, grease, and wax that can prevent paint from sticking.
Use automotive soap and microfiber cloths. Rinse thoroughly and let dry completely before painting.
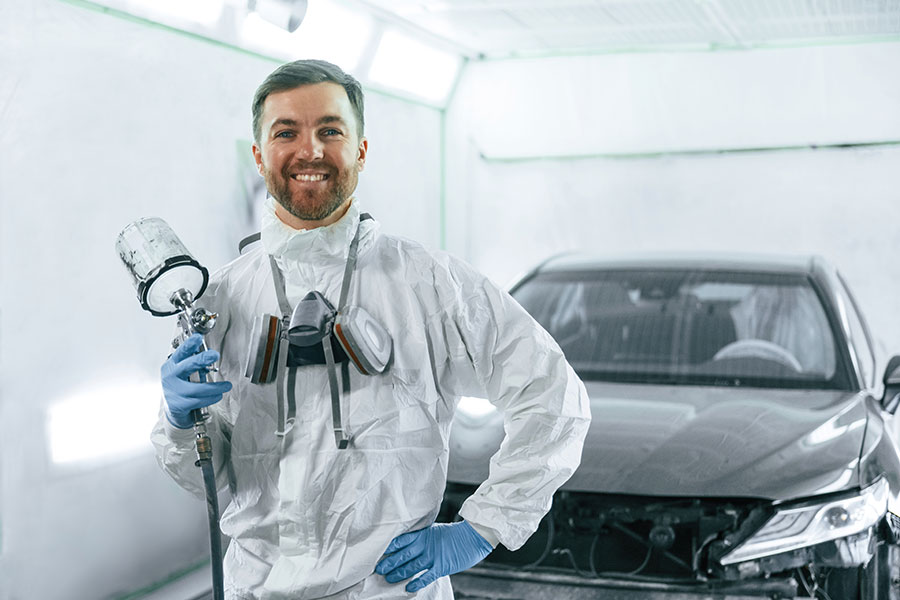
Safety Gear
Safety gear protects you from chemicals and dust. Gloves guard your skin against harsh chemicals.
Masks filter out harmful dust and fumes. Wear them whenever sanding or painting.
Introduction to Paint Correction
Paint Correction
Paint correction is a meticulous process that revitalizes a vehicle's paintwork. It removes imperfections like swirl marks, scratches, and oxidation. This process restores the paint's original luster and depth, making the car look brand new. Unlike a regular car wash or waxing, paint correction targets the paint at a microscopic level.
It involves using specialized tools and products to gently remove layers of clear coat until the blemishes are gone. The significance of paint correction lies in its ability to bring back the vehicle’s shine and color depth. It's an essential step for enthusiasts looking to maintain or restore their vehicle’s appearance to showroom quality.
Detailing vs. Correction
While both processes aim to enhance a car's appearance, they serve different purposes. Simple detailing focuses on cleaning and protecting the vehicle's surface. It includes vacuuming the interior, washing the exterior, and applying wax. However, detailing does not address deep scratches or swirls in the paint.
On the other hand, paint correction requires more skill and time. It specifically targets imperfections in the paintwork that simple detailing cannot fix. Think of detailing as regular maintenance, while paint correction is an intensive restoration.
Correction Steps
The basic steps involved in paint correction are crucial for achieving flawless results. First, the vehicle undergoes a thorough wash to remove any dirt and debris. This step ensures that no particles will scratch the surface during correction.
Next comes claying. A clay bar is gently rubbed over the paint to pick up microscopic particles and impurities embedded in the clear coat. Claying prepares the surface for polishing by creating a smooth canvas.
Finally, polishing is where most of the magic happens. Using a dual-action polisher and varying grades of polish, technicians meticulously work over each section of the car. They gradually refine the surface until all imperfections are removed and a mirror-like finish is achieved.
Steps for a Perfect Paint Job
Cleaning Process
The journey to a flawless paint job begins with meticulous cleaning. Dust, dirt, and grease on the car's surface can ruin the finish, making this step crucial.
Start by washing the area with soapy water and a microfiber cloth. Rinse thoroughly to remove any soap residue. Then, use a wax and grease remover for a deeper clean. This ensures that nothing interferes with the paint's ability to adhere properly.
Sanding Technique
After cleaning, focus shifts to sanding the damaged area. This helps in creating a smooth surface for the new paint to cling to.
Use fine-grit sandpaper, starting with 200-grit and gradually moving up to 600-grit for a finer finish. Sand evenly in circular motions, being careful not to apply too much pressure. The goal is to remove imperfections without causing further damage.
Primer Application
Primer acts as a foundation for your paint job. It ensures even color distribution and enhances paint adhesion.
Apply a thin coat of primer using a spray gun or brush, covering the entire sanded area. Allow it to dry according to the manufacturer's instructions, usually about 20 minutes. Once dry, lightly sand the primed surface with 600-grit sandpaper for an ultra-smooth base.
Base Coat Layering
The color comes alive during this phase. The base coat is your car's main color layer and demands precision.
Spray the base coat in thin, even layers, holding the spray gun approximately six inches from the surface. Apply 2-3 coats, allowing each to dry for at least 30 minutes before applying the next. Patience here is key to avoiding drips or unevenness.
Clear Coat Sealing
The clear coat seals everything in, providing gloss and protection against elements. Like the base coat, apply it in thin, even layers.
Usually, 2-3 coats are sufficient, with each layer requiring about an hour of drying time. The clear coat not only adds shine but also protects the base coat from UV rays and minor scratches.
Curing Time
Curing times are critical for durability. Rushing this process can result in a finish that's susceptible to damage.
Allow the final clear coat to cure for at least 24 hours before using the car. For optimal results, avoid washing or waxing your car for at least a week after painting.
Choosing the Right Polishing Machine
Rotary Polishers
Rotary polishers have been around for a long time. They work by spinning the pad in a circle on a single axis. This makes them very effective at removing deep scratches and paint defects quickly.
However, they require a skilled hand. A mistake can lead to paint burns or swirl marks. They're powerful, but not forgiving. For those with experience in car paint repair, a rotary polisher can be a valuable tool.
Dual-Action Polishers
Dual-action polishers move in two ways: they spin the pad and oscillate it in a random pattern. This dual motion reduces the chance of damaging the paint, making them safer for beginners.
They might be slower at correcting defects than rotary polishers, but their safety and versatility are unmatched. For someone just starting with car paint repair, a dual-action polisher is recommended. It's easier to handle and less likely to cause damage.
Power and Speed
When choosing a polishing machine, look at its power and speed settings. More power means quicker work on tough jobs. However, too much power can be hard to control.
Speed settings allow for versatility. Different jobs require different speeds. A machine with a wide range of speeds offers more control over the polishing process.
Ease of Use
Ease of use is crucial. Look for machines that feel comfortable in your hand and aren't too heavy. Features like adjustable handles and trigger locks can make a big difference in comfort during long jobs.
A user-friendly design ensures that you can focus on the job, not on wrestling with the machine.
Beginner's Choice
For beginners, dual-action polishers are the best choice. They offer a good balance between power and safety. Their ease of use makes learning the ropes of car paint repair less daunting.
With dual-action polishers, there's less risk of making mistakes that could damage your car's paint job. They're versatile tools that can handle most polishing tasks effectively.
Selecting Correct Buffing Pads
Foam Pads
Foam pads are popular among car enthusiasts for their versatility. They come in various levels of firmness to match the job's needs. Soft foam pads work best for final polishing, giving your car a dazzling shine. They are less aggressive and perfect for applying waxes or sealants.
On the other hand, firmer foam pads are great for removing minor scratches and swirls. They can cut through the paint's surface more effectively. It's essential to choose the right foam pad based on the condition of your car's paint and the desired outcome.
Microfiber Pads
Microfiber pads offer a balance between cutting power and finishing ability. They are more aggressive than soft foam pads but provide a finer finish than wool pads. This makes them excellent for intermediate steps in the polishing process.
Their design allows for an even distribution of polish or compound over the paint. This ensures a consistent finish across the entire surface of the vehicle. Regular cleaning of these pads is crucial to prevent buildup and maintain performance.
Wool Pads
Wool pads are the most aggressive option available. They are best suited for tackling deep scratches and oxidation that other pads can't handle. Their fibers cut into the paint quickly, removing serious imperfections efficiently.
However, this aggressiveness means they can leave behind their own marks. These will need to be polished out with a softer pad afterward. Wool pads require careful handling to avoid damage to the paintwork.
Pad Maintenance
Maintaining your buffing pads is as important as selecting the right one. Dirty or worn-out pads won't perform well and can even harm your car's paint. Clean your pads regularly to remove any trapped particles that could scratch the surface.
Replacing pads when they start to show signs of wear ensures consistent results. It also prevents any unexpected damage during a polishing session.
Guide to Flawless Finish Techniques
Swirl-Free Strategies
Achieving a swirl-free finish on your car's paint is crucial for that showroom shine. One key technique involves keeping the buffing pad flat against the paint surface. This ensures even application of polish and minimizes the risk of creating swirl marks.
Another aspect is using the right amount of polish. Too little won't give the desired shine, while too much can create a mess and waste product. Start with a small amount; you can always add more if needed.
Consistent Speed
Maintaining a consistent speed during polishing is vital. A steady pace ensures that the polish works effectively across the entire surface. It prevents hot spots where the pad might linger too long, potentially damaging the paint.
Pressure plays a similar role. The right amount helps the polish do its job without harming the paint. It's like finding a balance – enough to engage with the surface but not so much that it causes damage.
Final Touches
For a mirror-like shine, finishing with a fine polish and a soft pad makes all the difference. After removing any defects with your initial polishing steps, this final stage enhances the gloss and depth of your car's paint.
A soft pad is less abrasive and perfect for applying fine polish. It smooths out any remaining imperfections, leaving behind a flawless finish.
Maintaining Results
To keep your car looking its best after all your hard work, regular maintenance is key. This includes washing gently by hand, using microfiber towels for drying, and applying a quality wax or sealant to protect the paint.
Avoid automatic car washes with harsh brushes. They can undo your hard work by introducing new swirls and scratches.
Cost and Value of Paint Restoration
DIY Costs
Tackling paint restoration yourself can be cost-effective. Materials like sandpaper, primer, paint, and clear coat might cost between $100 to $500. This range depends on the quality and brand of supplies you choose.
By doing it yourself, you save on labor costs. However, investing in the right tools and materials is crucial. Without them, achieving a flawless finish might be hard.
Professional Services
Hiring professionals comes with a higher price tag. Prices can range from $500 to over $5,000. The cost varies based on the extent of damage and the car's model.
Professionals use high-quality materials and have access to color-matching technology. This ensures a seamless finish that matches your car's original paint.
Long-Term Value
Restoring your car's paint does more than just improve its look. It also protects against rust and weather damage. This preservation adds to your car's resale value.
A well-maintained car can sell for much more than one with chipped or faded paint. Investing in paint restoration can offer a good return when it's time to sell.
Satisfaction and Skills
Completing a paint restoration project yourself brings immense satisfaction. It's rewarding to see the transformation from worn to brand new.
You also gain valuable skills in auto maintenance. These skills can save you money on future repairs.
Final Remarks
You've got the know-how on spotting paint damage, picking the right tools, and nailing that paint job. It's all about getting your car to look its best without breaking the bank. We've walked you through choosing polishers, pads, and mastering finish techniques that turn heads. Plus, understanding the cost versus value of paint restoration means you're saving in the long run. Your ride deserves the spotlight, and now you can give it just that.
Don't just dream about a flawless finish; make it your weekend project. With these tips, you're not just fixing paint; you’re boosting your car's value and appeal. Grab your gear, and let's get that car looking sharp. Share your success stories or hit us up for more savvy car care tips. Let's keep those wheels turning in style!
Frequently Asked Questions
How do I identify paint damage on my car?
Check for scratches, dings, and uneven surfaces. Look at your car under different lighting conditions to ensure you catch all imperfections.
What tools are essential for car paint restoration?
You'll need sandpaper, a polishing machine, buffing pads, and quality polish and wax for effective restoration.
Can I correct paint issues myself?
Yes, with the right tools and techniques, such as those outlined in our "Introduction to Paint Correction" section, you can address many common paint issues.
What are the steps for a perfect paint job?
Clean the area, sand down imperfections, apply primer if necessary, then paint and finish with a clear coat for protection.
How do I choose the right polishing machine?
Consider the size of your vehicle and the extent of the damage. Our guide on choosing the right polishing machine can help make this decision easier.
Which buffing pads should I use for my car?
Select buffing pads based on the type of polish you're using and the level of correction needed. We offer recommendations in our "Selecting Correct Buffing Pads" section.
What techniques lead to a flawless finish?
Proper cleaning, meticulous damage repair, gradual sanding, and thorough polishing are key. Our "Guide to Flawless Finish Techniques" provides detailed instructions.
Is paint restoration cost-effective compared to other repairs?
Yes, investing in paint restoration can significantly improve your car's appearance and value at a fraction of the cost of more extensive repairs.