Did you know that over 70% of vehicles on the road have headlights that are significantly dulled or yellowed? This not only affects the look of your car but also drastically reduces night-time visibility, putting you and others at risk. Headlight restoration is the simple, cost-effective solution to this problem, bringing back the shine and clarity your headlights once had. With the right techniques and tools, you can improve your vehicle's appearance and safety in no time. This process isn't just about aesthetics; it's a crucial maintenance step that many overlook. Dive into the world of headlight restoration with us, and discover how you can easily enhance both your car's value and your driving safety.
Significance of Clear Headlights
Nighttime Visibility
Clear headlights play a crucial role in enhancing nighttime visibility. When headlights are foggy or yellowed, the light output can be significantly reduced. This makes it harder to see the road ahead, other vehicles, and pedestrians during night drives.
Restoring headlights to their original clarity not only improves the beam's intensity but also its reach. Drivers can spot potential hazards sooner, giving them more time to react. This is especially important in areas without street lighting where headlights are the primary source of illumination.
Vehicle Appearance
Beyond safety, clear headlights improve a vehicle's overall appearance. Cloudy or discolored headlights can make even the most well-kept cars look neglected and old. Restoring them brings back the car's shiny, new look.
This aesthetic improvement can also boost the car's resale value. First impressions matter when selling a vehicle, and bright, clear headlights can make a car more appealing to potential buyers. It shows that the car has been well-maintained, suggesting that other parts of the vehicle have received similar care.
Inspection Requirements
In many places, having clear headlights is not just beneficial; it's a requirement. Vehicle inspections often include checks on headlight condition and function. Headlights that are too dim or obscured by yellowing can cause a vehicle to fail these inspections.
Passing vehicle inspections is essential for keeping a car legally on the road. Therefore, maintaining clear headlights is as much about compliance as it is about safety and aesthetics. Regular restoration or cleaning helps avoid the hassle and expense of inspection failures.
Recognizing Dull Headlights
Yellowing Signs
Yellowed headlights are a common issue. They look cloudy and not as clear as new ones. This happens when the headlight lens, made from polycarbonate, reacts with UV light from the sun. Over time, this reaction causes the lens to yellow and degrade.
This yellowing doesn't just make your car look older. It also means less light gets through. That makes it harder to see at night or during bad weather. It's a sign you might need headlight restoration.
Cloudy Appearance
Cloudiness is another telltale sign of headlight wear. It often starts small but can cover the whole headlight if left unchecked. This cloudiness comes from tiny scratches and oxidation on the surface of the headlight.
These scratches scatter the light, reducing overall brightness. It's like trying to look through a fogged-up window. Everything outside seems dimmer and less distinct. If your headlights seem foggy or blurred, it's time to consider restoring them.
Reduced Brightness
Diminished brightness is a direct outcome of yellowing and cloudiness. When headlights aren't clear, they can't shine as brightly as they should. This makes it tough to see the road ahead at night.
Drivers might notice their headlights don't illuminate the road as far or as well as they used to. This reduced visibility is a major safety concern. It means you have less time to react to obstacles or changes in the road.
Environmental Impact
The environment plays a big role in headheadlight clarity. UV exposure is a major culprit, but so are salt, dirt, and chemicals from the road. Weather conditions like rain, snow, and extreme temperatures can also speed up the deterioration process.
These factors combine to wear down your headlights over time. They contribute to the yellowing, clouding, and scratching that dims your lights. Protecting your headlights from these elements can help, but eventually, restoration might be necessary.
Impact of Foggy Headlights on Safety
Reduced Visibility
Foggy headlights dim the light output significantly. This makes it hard for drivers to see the road ahead at night or during bad weather. With less light, spotting obstacles or changes in the road surface becomes a challenge.
Drivers rely heavily on their headlights to navigate after dark. When these lights are clouded, the risk of missing crucial signs or veering off the road increases. Accidents are more likely when you can't see what's ahead.
Alerting Others
Headlights aren't just for seeing; they also help others see you. If your car's headlights are foggy, other drivers and pedestrians might not notice your vehicle until it's too late. This is especially true during dawn, dusk, and nighttime.
A car with clear headlights is much easier to spot. This visibility is critical for safety in traffic. It ensures that everyone can react in time to avoid collisions. Without this alertness, the chances of accidents soar.
Glare to Oncoming Traffic
When headlight lenses become foggy, they don't just dim the light; they scatter it too. This scattered light can cause glare for oncoming drivers. Glare is not only annoying but dangerous. It momentarily blinds other road users, making it hard for them to see.
This glare can lead to serious accidents, especially on undivided roadways where cars pass closely by each other. Drivers facing glare might swerve unexpectedly, leading to head-on collisions or running off the road.
DIY vs Professional Restoration
Cost-Effectiveness
DIY headlight restoration kits can be a budget-friendly option. They usually cost between $20 to $50. This makes them appealing for those looking to save money. However, the effectiveness of these kits can vary.
Professional services, on the other hand, may charge anywhere from $75 to $150 for both headlights. This higher price tag often reflects the use of advanced materials and techniques. These can provide a longer-lasting result than most DIY efforts.
Time Investment
Taking the DIY route requires time and patience. Most kits need a few hours of work to achieve good results. This includes cleaning, sanding, polishing, and sometimes applying a sealant.
Professionals can often restore headlights in about an hour, thanks to their experience and equipment. For busy individuals, this convenience might outweigh the additional cost.
Durability
Professional restorations tend to last longer. Experts use high-quality products that resist yellowing and fogging for years. Their experience ensures that the sealant is applied evenly, providing long-term protection against elements.
DIY kits might not offer the same level of durability. The results can start to fade within a few months, especially if the quality of the kit is low or if the application was uneven.
Satisfaction and Learning
There's a sense of achievement in successfully restoring headlights by oneself. It provides valuable learning experience in car maintenance. For enthusiasts, this DIY project can be both enjoyable and rewarding.
However, this satisfaction comes with the risk of less-than-perfect results. Mistakes can lead to uneven finishes or even damage to the headlight lens.
Exploring DIY Restoration Kits
Kit Contents
DIY headlight restoration kits usually come with a few key items. Most have sandpaper, polish, and a UV sealant. These components work together to clear up the headlights.
The sandpaper helps remove the outer layer of haze. It comes in different grits for a step-by-step process. The polish brings back the shine after sanding. Lastly, the UV sealant protects the lens from future damage. It's crucial to apply it evenly.
Variety Available
There's a wide range of DIY kits on the market. They vary from basic to comprehensive options. Basic kits might only include sandpaper and polish. More comprehensive kits add finer grits, more polish, and a stronger sealant.
Some kits even come with tools to make the job easier. These can include tape to protect your car's paint or a buffing ball for drills. The choice depends on how much effort you want to put in and your budget.
Importance of Instructions
Following the kit instructions is vital for success. Each kit has its own set of steps that work best with its products. Skipping steps or rushing can lead to poor results.
For example, not using all the sandpaper grits provided might leave scratches. Or, applying sealant unevenly could result in less protection against UV rays. Taking your time ensures the best outcome.
Step-by-Step Guide to Headlight Renewal
Initial Cleaning
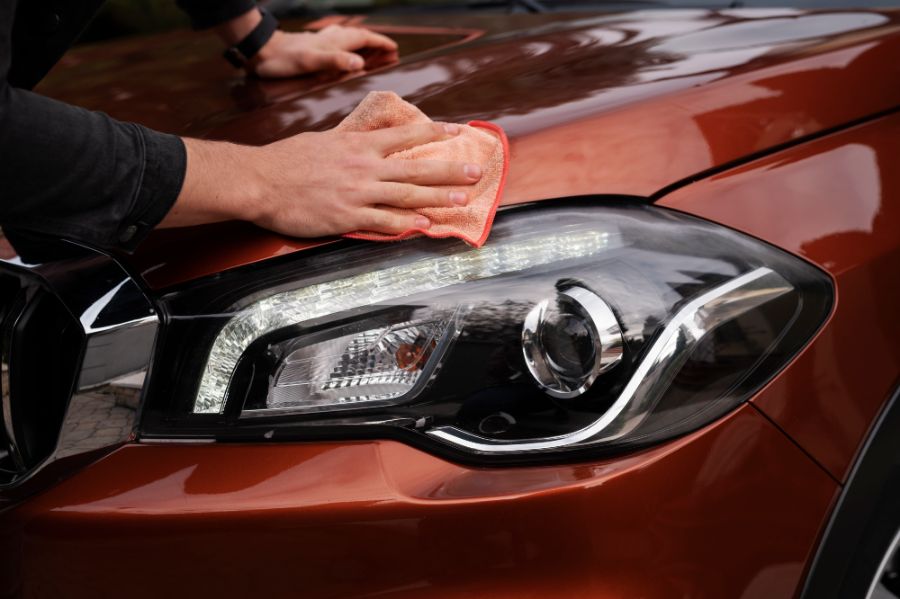
The first step in headlight restoration involves thorough cleaning. Grab a reliable cleaner and a microfiber cloth. Gently scrub the headlight surface. This removes dirt and grime.
After cleaning, it's crucial to protect the car's paint. Use painter's tape around the headlights. This prevents damage during the sanding process.
Sanding Process
Next, focus on removing oxidation. Oxidation makes headlights look cloudy. Start with coarse sandpaper. Wet the sandpaper and headlight. Sand in a circular motion.
Gradually move to finer grits. This smoothens the headlight surface. Keep the surface wet during sanding. It minimizes scratches.
Polishing Phase
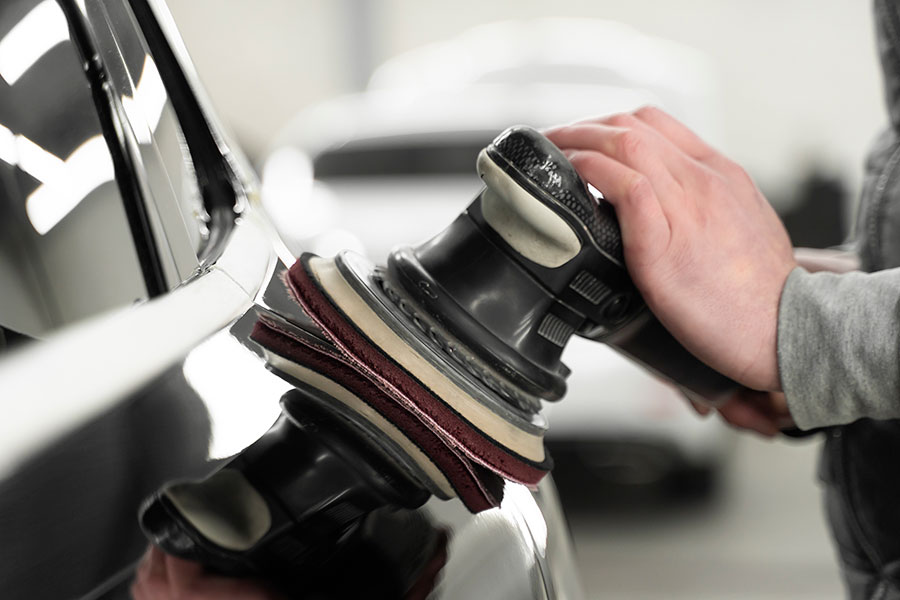
After sanding, polishing is key. It restores clarity to the headlights. Apply a small amount of polish on a soft cloth. Rub it on the headlights in a circular motion.
Polishing not only improves visibility but also enhances the vehicle's appearance. Spend adequate time on this step for best results.
UV Protection
The final step is applying a UV sealant. This protects the headlights from future oxidation and damage. Follow the product instructions carefully.
Apply the sealant evenly. Allow it to dry completely. This layer shields the headlights against UV rays, prolonging their clarity and function.
Maintenance Tips for Restored Headlights
After restoring your headlights to their former glory, maintaining their clarity is crucial. Here are essential tips to keep them looking clear and bright.
Regular Cleaning
Regularly washing your headlights can prevent the buildup of dirt and grime. Use automotive soap, as it's designed for car surfaces. This simple step keeps the lights bright.
Clean them every time you wash your car. Focus on removing any debris gently. This avoids scratches that can dull the surface over time.
Shade Parking
UV rays from the sun can damage restored headlights. Park in shaded areas whenever possible. This minimizes exposure to sunlight.
If shade is scarce, consider using a car cover. It protects not just the headlights but the entire vehicle from UV damage.
UV Protection
Apply a UV protectant spray periodically. This extends the life of your headlight restoration. Choose a product specifically designed for automotive use.
Spray it on clean headlights every few months. It forms a protective layer against harmful UV rays.
When to Restore Headlights Again
Dullness Returns
Returning dullness in headlights is a clear sign it's time for another restoration. Over time, exposure to sunlight and pollutants can degrade the plastic, making the lights look foggy or blurred. This not only affects the appearance of your vehicle but also reduces visibility at night, posing a safety risk.
Headlights may begin to lose their clarity and brightness, indicating the protective coating has worn off. Regular checks can help you spot these changes early.
Yellowing Occurs
Another indicator is the yellowing of the headlight lens. This happens due to oxidation, a natural process accelerated by UV light from the sun. When headlights start to show a yellow tint, it significantly impacts light output and visibility.
This yellowing effect can happen within months after a restoration if the headlights are constantly exposed to harsh conditions without proper maintenance.
Lifespan of Restoration
The average lifespan of a headlight restoration can vary greatly, typically lasting anywhere from 10 months to 3 years. Factors that shorten this lifespan include harsh weather conditions, like extreme heat or cold, and exposure to chemicals from road salt or cleaning agents.
Using high-quality materials during the restoration process can extend the life of your headlights, making them resistant to wear and tear for longer periods.
Regular Inspections
Setting a regular inspection schedule is crucial for maintaining optimal headlight performance. Experts recommend checking your headlights every three months to assess their condition and determine if another restoration is needed.
During these inspections, look for signs of wear such as scratches, cloudiness, or dimming. Early detection allows for timely restoration, ensuring your headlights remain effective and your vehicle safe on the road.
Closing Thoughts
Clear headlights are not just about your car looking good; they're crucial for safety on the road. You've seen how foggy headlights can dim your view and how restoring them brightens your path and keeps you safe. Whether you choose DIY kits or a pro's touch, taking action is what counts. Keeping your headlights clear means maintaining visibility for all your journeys ahead. Remember, it's not just a one-time fix; regular maintenance keeps those lights shining bright. So, don't wait until your view gets blurry. Grab a restoration kit or call a professional today and light up your way with confidence. Your safety, and that of others, is in your hands.
Ready to see the road more clearly? Take the first step towards brighter, safer driving. Restore your headlights and keep them in top shape. It's easy, effective, and essential for every driver out there. Shine on!
Frequently Asked Questions
How important are clear headlights for safe driving?
Clear headlights significantly improve visibility at night and during poor weather conditions, directly impacting driving safety by allowing you to see the road ahead clearly and other drivers to notice you.
What are the signs that my headlights need restoration?
Signs include dimmed light output, yellowing, or foggy appearance of the headlight lens, which reduce the effectiveness of your headlights.
Can foggy headlights really affect my driving safety?
Yes, foggy headlights can severely reduce visibility on the road, making it difficult to see obstacles and increasing the risk of accidents.
Should I attempt DIY headlight restoration or hire a professional?
DIY restoration can be effective for minor dullness and is cost-efficient, but professional restoration is recommended for severe damage to ensure safety and quality.
Are DIY headlight restoration kits worth it?
Yes, if you follow instructions carefully. Quality DIY kits can effectively restore headlights at a fraction of the cost of professional services.
What steps should I follow to restore my headlights myself?
A typical process involves cleaning, sanding, polishing, and applying a protective UV coating to the headlight lens. Each step must be done meticulously for best results.
How do I maintain my restored headlights?
Regularly clean them with soap and water, avoid harsh chemicals, and apply a UV protectant periodically to prevent future dullness.
When is it time to restore my headlights again?
When you notice any signs of dullness or reduced visibility at night, it's time to consider another restoration to maintain optimal driving safety.
